
Bittergourd seeds are the starting point of growing bittergourd plants. They contain the genetic material necessary for the development of bittergourd vines and fruits. These seeds are commonly available from gardening stores or can be harvested from mature bittergourd fruits.
1. Selecting the Right Seeds
Types of Bittergourd Seeds
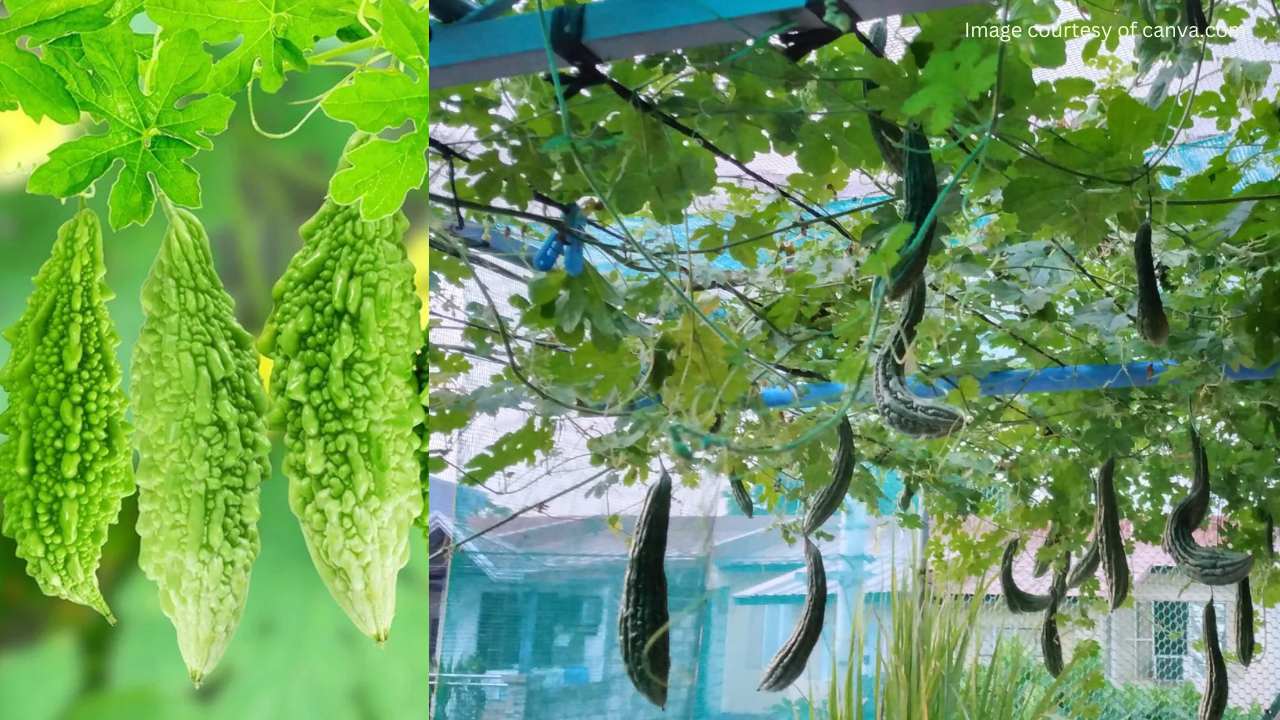
There are several varieties of bittergourd seeds available, each with its own unique characteristics. Common types include Indian, Chinese, and Thai varieties, each differing in shape, size, and bitterness level. When selecting seeds, consider your preferences in taste and the growing conditions in your area.
Factors to Consider when Selecting Seeds
When choosing bittergourd seeds, consider factors such as the climate in your region, the available space for gardening, and your level of gardening experience. Opt for seeds that are well-suited to your local climate and soil conditions to ensure successful growth.
2. Preparing the Soil
Ideal Soil Conditions for Bittergourd
Bittergourds thrive in well-drained, fertile soil with a slightly acidic to neutral pH level. They require ample sunlight and warmth to flourish. Before planting, assess your soil's texture and nutrient content to determine if any amendments are needed.
Soil Preparation Steps
Prepare the soil by tilling it to a depth of at least 12 inches and removing any weeds or debris. Incorporate organic matter such as compost or aged manure to improve soil fertility and structure. Level the soil surface to ensure uniform seed germination.
3. Planting Bittergourd Seeds
Best Time for Planting
Bittergourd seeds should be planted outdoors after the danger of frost has passed and the soil has warmed up to at least 70°F (21°C). In most regions, this typically occurs in late spring or early summer. Planting can also be done indoors in containers for transplanting later.
Seed Spacing and Depth
Sow bittergourd seeds directly into the prepared soil at a depth of 1 inch (2.5 cm) and space them about 12 inches (30 cm) apart. Ensure that the soil remains consistently moist but not waterlogged during the germination period, which usually takes 7 to 14 days.
Tips for Successful Planting
To promote germination, soak the seeds in water overnight before planting. Mulch around the seedlings to conserve moisture and suppress weed growth. Provide support for the vines to climb as they grow.
4. Watering and Maintenance
Watering Requirements
Bittergourd plants require regular watering, especially during hot and dry periods. Keep the soil evenly moist but avoid overwatering, as excessive moisture can lead to root rot and other diseases. Water at the base of the plants to prevent foliage from getting wet, which can promote fungal infections.
Fertilization Needs
Apply a balanced fertilizer or organic compost to the soil once a month to provide essential nutrients for healthy growth. Avoid over-fertilization, as this can result in excessive vine growth at the expense of fruit production. Monitor the plants for signs of nutrient deficiencies and adjust fertilization accordingly.
Pest and Disease Management
Keep an eye out for common pests such as aphids, spider mites, and cucumber beetles, which can damage bittergourd plants. Use natural remedies such as neem oil or insecticidal soap to control pest infestations. Practice crop rotation and proper sanitation to prevent the spread of diseases such as powdery mildew and bacterial wilt.
5. Supporting Growth
Trellising or Staking
Bittergourd vines are vigorous climbers that benefit from vertical support. Install trellises or stakes near the plants to provide them with a structure to climb. This not only saves space in the garden but also improves air circulation around the plants, reducing the risk of disease.
Training the Vines
As the bittergourd vines grow, gently guide them along the trellis or stake to encourage upward growth. Prune any lateral shoots or tendrils that are not needed for support to promote better airflow and light penetration. Regularly check the ties securing the vines to prevent constricting their growth.
6. Harvesting Bittergourd
Signs of Readiness for Harvest
Bittergourds are ready for harvest 60 to 70 days after planting, depending on the variety and growing conditions. Look for firm, uniformly colored fruits with a glossy appearance. Avoid harvesting overly mature bittergourds, as they tend to develop a more bitter taste and tough texture.
Harvesting Techniques
Use a sharp knife or pruning shears to cut the bittergourds from the vines, leaving a short stem attached to the fruit. Handle the fruits carefully to avoid bruising or damaging them. Harvest regularly to encourage continuous fruit production throughout the growing season.
Related Articles: